#! /usr/bin/env python

import re

class AcpiChecker():
    """read /proc/acpi/battery/*** files for check the PC's battery"""
    def __init__(self, battery_name):
        self._info_path = "/proc/acpi/battery/" + battery_name + "/info"
        self._state_path = "/proc/acpi/battery/" + battery_name + "/state"
    def get_capacity(self):
        f = open(self._info_path)
        for line in f:
            match = re.search(r'^last full capacity:\s*(\d+)', line)
            if match:
                capacity = match.groups()[0]
        f.close()
        return capacity

    def get_state(self):
        f = open(self._state_path)
        for line in f:
            match = re.search(r'^remaining capacity:\s*(\d+)', line)
            if match:
                state = match.groups()[0]
        f.close()
        return state

    def get_rate(self):
        return float(self.get_state()) / float(self.get_capacity())

if __name__=='__main__':
    checker = AcpiChecker('BAT0')
    print checker.get_rate()
ノードはこんな感じでてきとーに作ってみました。
#! /usr/bin/env python

import roslib
roslib.load_manifest('otl_battery_checker')

import rospy
from std_msgs.msg import Float64
from battery_check import AcpiChecker

class BatteryCheckerNode():
    """check battery and publish the charge rate"""
    def __init__(self, battery_name='BAT0'):
        self._checker = AcpiChecker(battery_name)
        self._pub = rospy.Publisher('/pc/battery_rate', Float64)
    def proc(self):
        msg = Float64()
        msg.data = self._checker.get_rate()
        self._pub.publish(msg)

if __name__=='__main__':
    rospy.init_node('pc_battery_checker')
    battery_name = 'BAT0'
    if rospy.has_param('~device'):
        battery_name = rospy.get_param('~device')
    check = BatteryCheckerNode(battery_name)
    rate = rospy.Rate(1)
    while not rospy.is_shutdown():
        check.proc()
        rate.sleep()
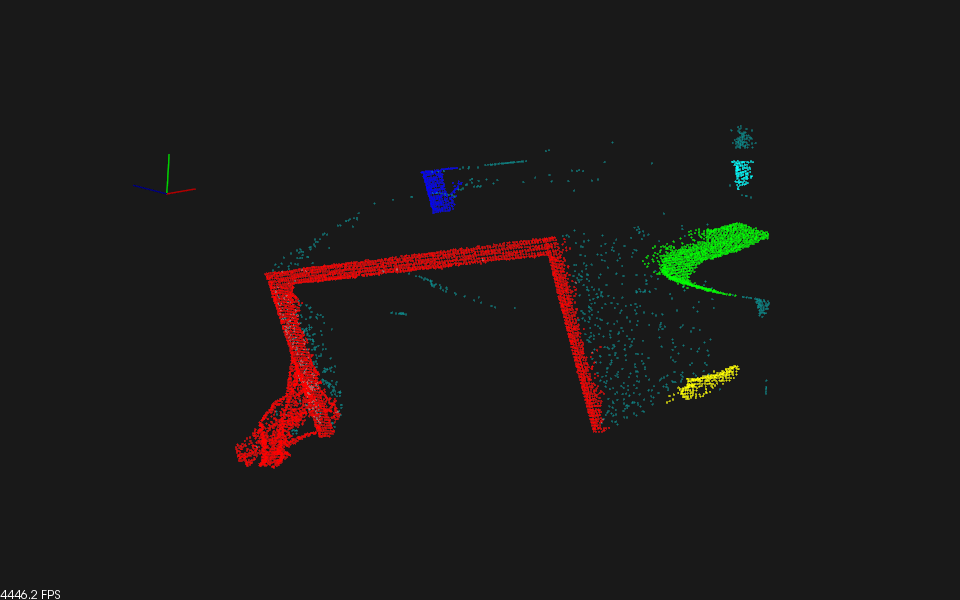
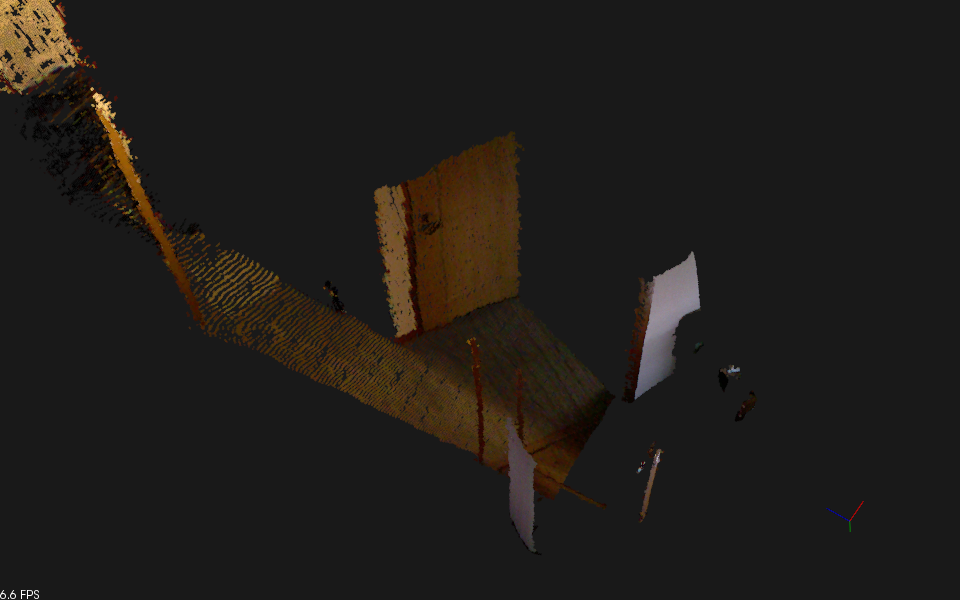
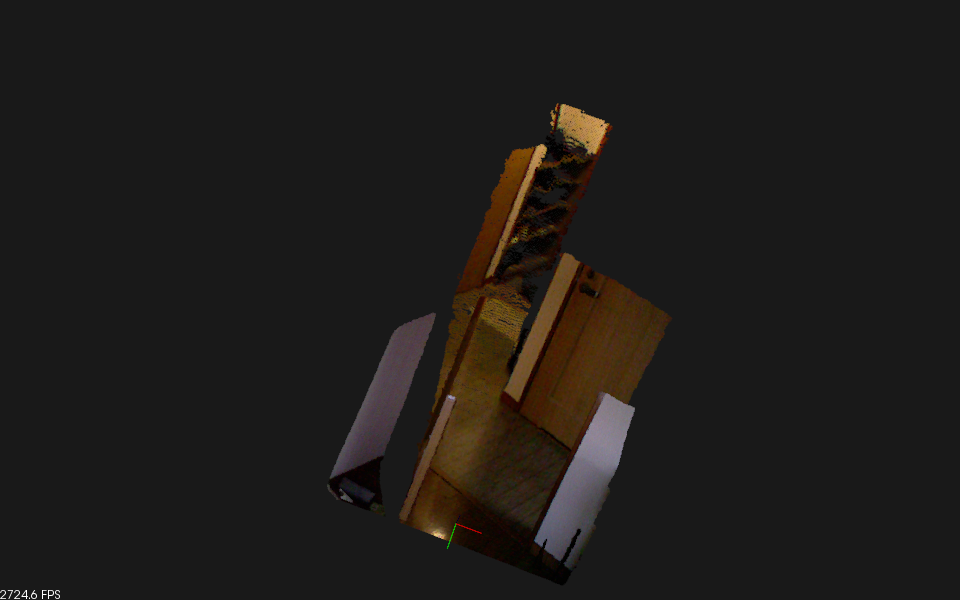
#include <iostream>#include <pcl/io/pcd_io.h>#include <pcl/point_types.h>intmain(intargc,char**argv){pcl::PointCloud<pcl::PointXYZ>cloud;// Fill in the cloud datacloud.width=5;cloud.height=1;cloud.is_dense=false;cloud.points.resize(cloud.width*cloud.height);for(size_ti=0;i<cloud.points.size();++i){cloud.points[i].x=1024*rand()/(RAND_MAX+1.0);cloud.points[i].y=1024*rand()/(RAND_MAX+1.0);cloud.points[i].z=1024*rand()/(RAND_MAX+1.0);}pcl::io::savePCDFileASCII("test_pcd.pcd",cloud);std::cerr<<"Saved "<<cloud.points.size()<<" data points to test_pcd.pcd."<<std::endl;for(size_ti=0;i<cloud.points.size();++i)std::cerr<<" "<<cloud.points[i].x<<" "<<cloud.points[i].y<<" "<<cloud.points[i].z<<std::endl;return(0);}
# .PCD v.7 - Point Cloud Data file format
VERSION .7
FIELDS x y z
SIZE 4 4 4
TYPE F F F
COUNT 1 1 1
WIDTH 5
HEIGHT 1
VIEWPOINT 0 0 0 1 0 0 0
POINTS 5
DATA ascii
0.35222197 -0.15188313 -0.10639524
-0.3974061 -0.47310591 0.29260206
-0.73189831 0.66710472 0.44130373
-0.73476553 0.85458088 -0.036173344
-0.46070004 -0.2774682 -0.91676188
のようになっています。
pcl::PointXYZの定義は
// \brief A point structure representing Euclidean xyz coordinates.structPointXYZ{floatx;floaty;floatz;};